MySQL Workbench is a powerful visual tool for database management, development, and administration. It provides a graphical interface for working with MySQL databases, allowing users to easily design, create, and maintain databases.
In this article, we’ll guide you through the process of installing and using MySQL Workbench on Ubuntu.
Installing MySQL Server on Ubuntu
First, start by updating the system’s package repositories to ensure you have the latest software versions available.
sudo apt update
Next, we’ll install the MySQL server, which is one of the most popular open-source relational database management systems (RDBMS) used worldwide.
sudo apt install mysql-server
After the installation is complete, it’s a good idea to run the mysql_secure_installation script to further secure your MySQL server.
This script will guide you through several security-related tasks, such as setting the root password, removing anonymous user accounts, disabling remote root login, and removing the test database.
sudo mysql_secure_installation
Follow the prompts and answer the questions as needed. For example, you may be asked to set the root password, remove anonymous users, disallow remote root login, and remove the test database.
Installing MySQL Workbench on Ubuntu
Now that the MySQL server is installed and configured, we can proceed with installing MySQL Workbench by downloading official DEB package from the MySQL website.
Alternatively, you can use the following wget command to download the latest version. At the time of writing, the latest version is 8.0.38, make sure to replace the version number with the latest one available if it has been updated.
wget https://cdn.mysql.com//Downloads/MySQLGUITools/mysql-workbench-community_8.0.38-1ubuntu24.04_amd64.deb
Once the download is complete, navigate to the directory where the file is downloaded and use the dpkg command to install it.
sudo dpkg -i mysql-workbench-community_8.0.38-1ubuntu24.04_amd64.deb
If the installation fails due to missing dependencies, you can use the following command to install the missing dependencies and complete the MySQL Workbench installation.
sudo apt -f install
Alternatively, you can also install MySQL Workbench using the Ubuntu package repositories. However, the version available in the repositories may be older than the one available on the MySQL website.
To install from the repositories, you can use the following command:
sudo apt install mysql-workbench-community
Launch MySQL Workbench in Ubuntu
After the installation is complete, you can launch MySQL Workbench using the following command.
mysql-workbench
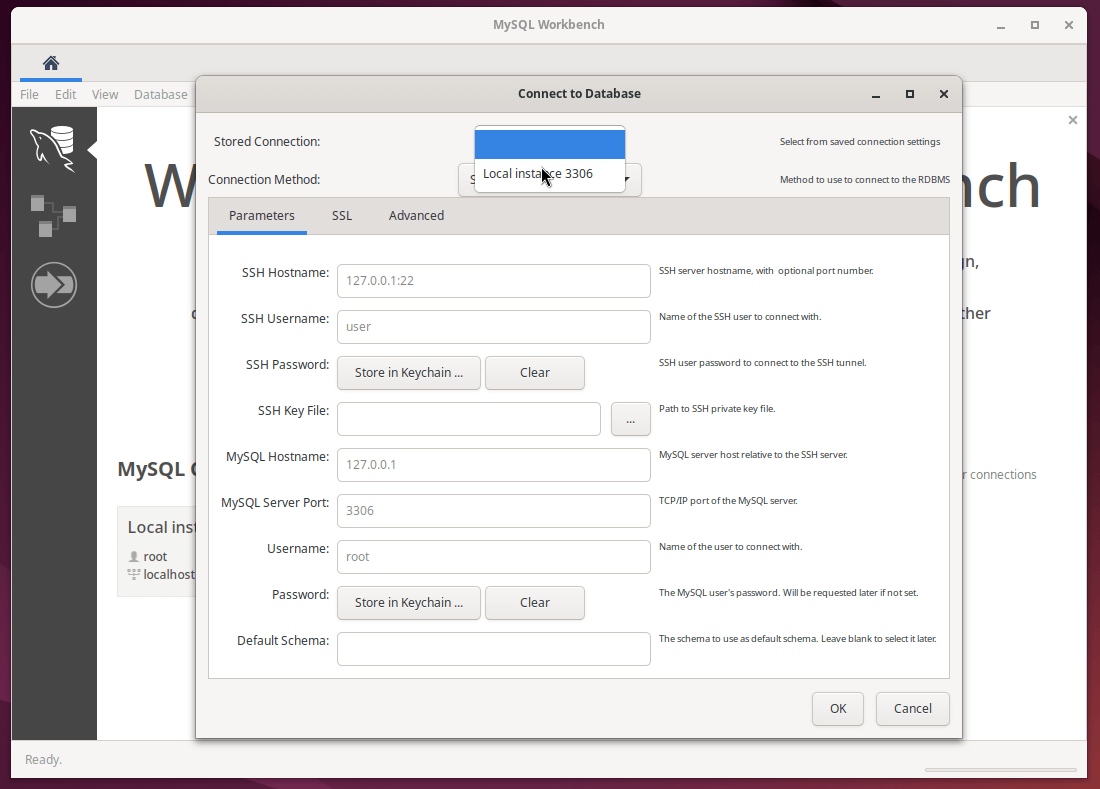
When you launch MySQL Workbench for the first time, it may prompt you to configure a connection to the MySQL server. If so, follow the on-screen instructions to set up a new connection.
Click on the "+" icon in the “MySQL Connections” section of the home screen, fill in the connection details, such as the hostname (or IP address), username, and password and test the connection to ensure it’s working correctly.

Uninstalling MySQL and MySQL Workbench
If you need to remove MySQL and MySQL Workbench from your Ubuntu system, follow these commands.
sudo systemctl stop mysql
sudo apt remove mysql-workbench-community
sudo apt remove mysql-server
sudo apt autoremove
This will completely remove MySQL and MySQL Workbench from your Ubuntu system.
Conclusion
In this article, we’ve covered the step-by-step process of installing MySQL and MySQL Workbench on an Ubuntu system using the official DEB packages provided by MySQL.
We’ve also discussed how to configure and use MySQL Workbench to manage your MySQL databases, as well as how to uninstall both MySQL and MySQL Workbench if needed.


