Ubuntu 20.04 LTS (Focal Fossa) has been a reliable and solid operating system for many users. However, as we move toward the end-of-life (EOL) for Ubuntu 20.04 LTS, it’s time to think about upgrading to the next Long-Term Support (LTS) release. Ubuntu 20.04 LTS will no longer receive standard updates after May 31, 2025.
Luckily, Ubuntu 24.04 LTS (Noble Numbat) has already been released and is ready for users to upgrade to. But here’s the catch: upgrades between Ubuntu versions are sequential, which means you cannot directly upgrade from Ubuntu 20.04 LTS to Ubuntu 24.04 LTS. Instead, you need to go through Ubuntu 22.04 LTS first.
This guide will take you through the entire process step-by-step, explaining each step in detail, so even beginners can easily follow along.
Why Upgrade?
Before we dive into the upgrade steps, it’s important to understand why upgrading your system is necessary:
- End of Life (EOL) for Ubuntu 20.04 LTS: After May 31, 2025, Ubuntu 20.04 LTS will no longer receive official updates, bug fixes, or security patches, which can leave your system vulnerable to security risks and bugs.
- New Features and Improvements: Ubuntu 24.04 LTS comes with new features, better performance, and enhanced security, ensuring your system remains fast, secure, and up-to-date with the latest software.
- Long-Term Support: Ubuntu 24.04 LTS will be supported until April 2029, meaning you get 5 more years of updates, security patches, and bug fixes.
Important Note: Upgrade Process is Sequential
As mentioned earlier, Ubuntu upgrades are sequential, which means:
- You must first upgrade from Ubuntu 20.04 LTS to Ubuntu 22.04 LTS.
- Once you’re on Ubuntu 22.04 LTS, you can then upgrade to Ubuntu 24.04 LTS.
You cannot directly skip to Ubuntu 24.04 without going through Ubuntu 22.04. While it may seem like an extra step, the process is smooth and easy to follow if done in order.
Before You Start: Pre-Upgrade Checklist
Upgrading Ubuntu is a straightforward process, but it’s always best to take some important steps before you begin the upgrade:
1. Backup Your Important Files
Upgrades usually go smoothly, but it’s always wise to have a backup of your important files in case something goes wrong.
There are multiple ways to back up your files:
- Deja Dup (the built-in Ubuntu backup tool).
- Cloud storage services like Google Drive, Dropbox, or OneDrive.
- External hard drives or USB drives.
This way, you can ensure that your documents, pictures, and other essential files are safe before proceeding with the upgrade.
2. Ensure Your System Is Up-to-Date
Before starting the upgrade process, it’s essential to update your current system to ensure everything is patched and up to date. Open a terminal and run the following commands:
sudo apt update && sudo apt upgrade -y
sudo apt dist-upgrade -y
sudo apt autoremove -y
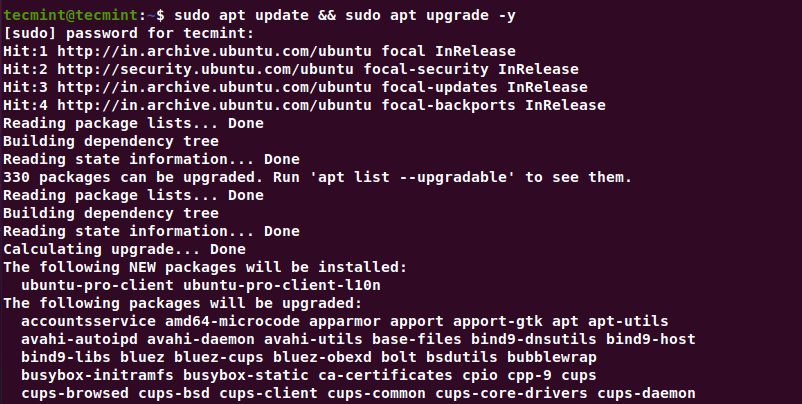
Once the updates are complete, reboot your system to apply the changes, which ensures your system is ready for the upgrade.
sudo reboot
3. Preparing System for Upgrade
The Update Manager is the tool that helps you upgrade your system.
sudo apt install update-manager-core
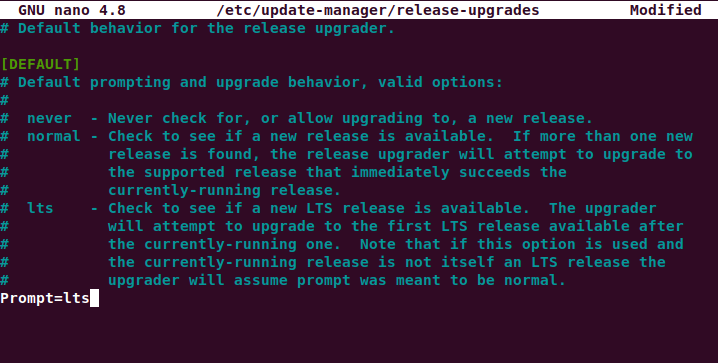
Next, you need to set your system to look for LTS releases by editing the configuration file.
sudo nano /etc/update-manager/release-upgrades
Look for the line that reads:
Prompt=normal
Change it to:
Prompt=lts
Upgrading from Ubuntu 20.04 LTS to 22.04 LTS
Now that your system is prepared, let’s start the upgrade process. Since Ubuntu 20.04 LTS doesn’t directly upgrade to 24.04 LTS, you’ll need to go through Ubuntu 22.04 LTS first.
sudo do-release-upgrade
The upgrade may take some time, depending on your system’s speed and your internet connection. During this process, your system will download the necessary packages and make updates to your operating system, which can take anywhere from 30 minutes to 90 minutes, so be patient.
Important: Do not interrupt the process or power off your computer while it’s upgrading.
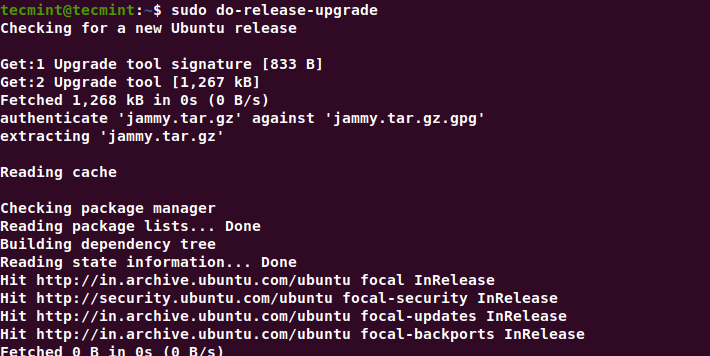
Once the upgrade is complete, you will be prompted to reboot your system to finish the upgrade.
sudo reboot
Once your system reboots, you can confirm that you are now running Ubuntu 22.04 LTS by typing:
lsb_release -a

Upgrading from Ubuntu 22.04 LTS to 24.04 LTS
Now that you’re on Ubuntu 22.04 LTS, it’s time to upgrade to Ubuntu 24.04 LTS by running the following commands, which will will make sure that all packages are up to date and that there are no leftover dependencies from the previous upgrade.
sudo apt update && sudo apt upgrade -y
sudo apt dist-upgrade -y
sudo apt autoremove -y
sudo reboot
Now, you can run the upgrade command again:
sudo do-release-upgrade
Just like with the previous upgrade, the system will ask you to confirm the changes and whether you want to continue. Let the upgrade process complete, which may take some time to finish, so be patient.
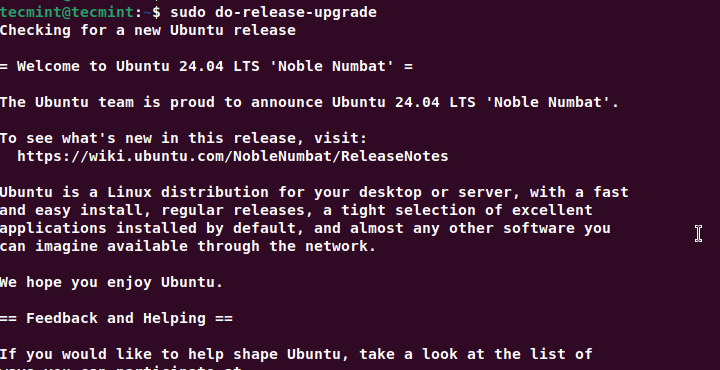
Once the upgrade is finished, reboot your system:
sudo reboot
Finally, check that you’ve successfully upgraded to Ubuntu 24.04 LTS:
lsb_release -a

Once you’ve completed the upgrade, it’s a good idea to clean up unnecessary files that might have been left behind during the upgrade process.
sudo apt autoremove
sudo apt clean
Conclusion
You’ve successfully upgraded from Ubuntu 20.04 LTS to Ubuntu 24.04 LTS. By upgrading to the latest version, your system is now secure, fast, and ready for the future.
Ubuntu 24.04 LTS will be supported until April 2029, so you can rest easy knowing your system will continue to receive regular updates and patches.
If you ran into any issues during the upgrade process, don’t hesitate to check out the Ubuntu forums for helpful troubleshooting tips.


