vTiger CRM is the most popular open-source and free customer relationship management (CRM) software that helps businesses manage their sales, support, marketing, and inventory processes.
This comprehensive guide will walk you through the step-by-step process of installing vTiger CRM on Ubuntu 22.04, offering you a strong platform to gather customer data in one place, automate tasks, and boost business growth.
Prerequisites
Before starting the installation process, ensure you have the following:
Step 1: Install Apache Web Server
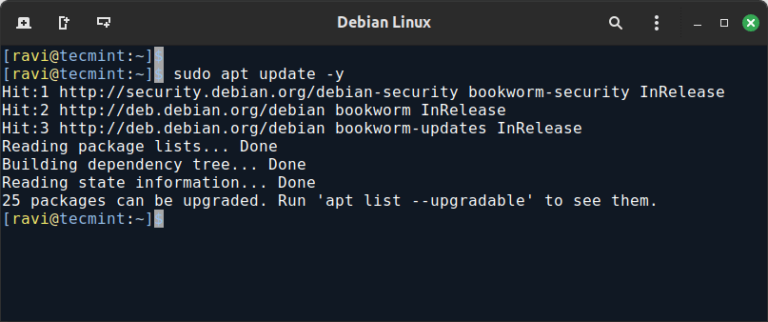
First, update your system to the latest package versions and install Apache, a popular web server software, using the following commands.
sudo apt update -y
sudo apt upgrade -y
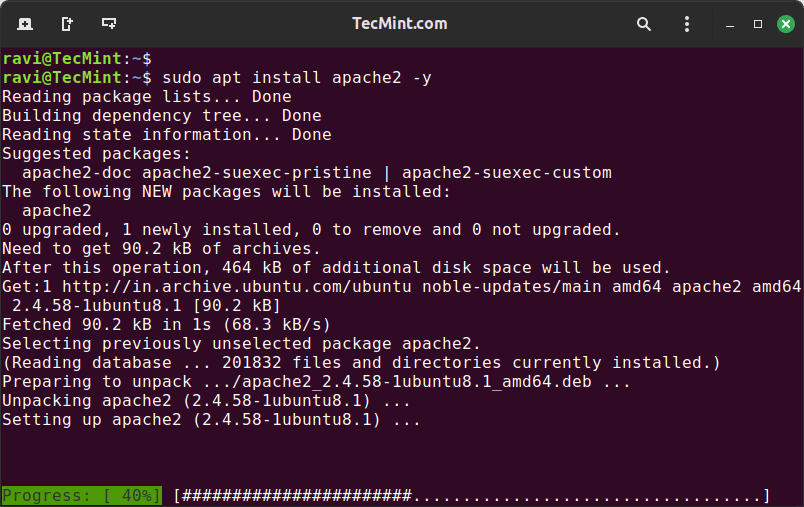
sudo apt install apache2 -y
Step 2: Install MySQL Database Server
Next, install MySQL, an open-source relational database management system that is widely used in the LAMP stack for web services.
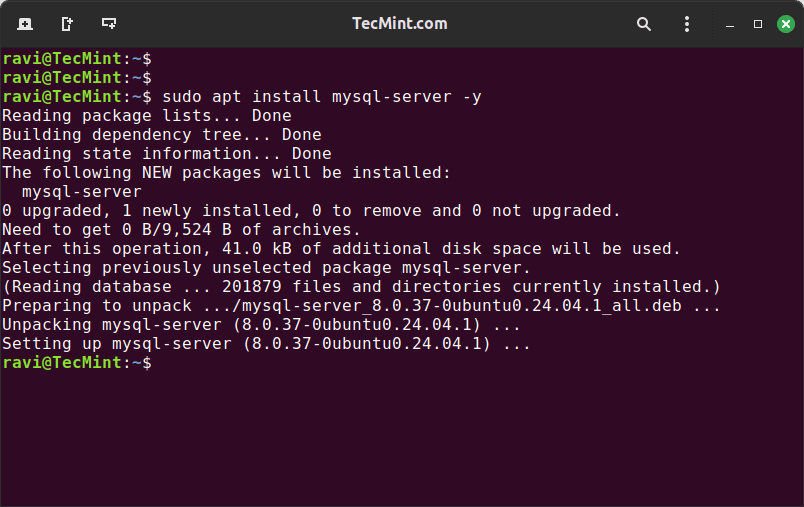
sudo apt install mysql-server -y
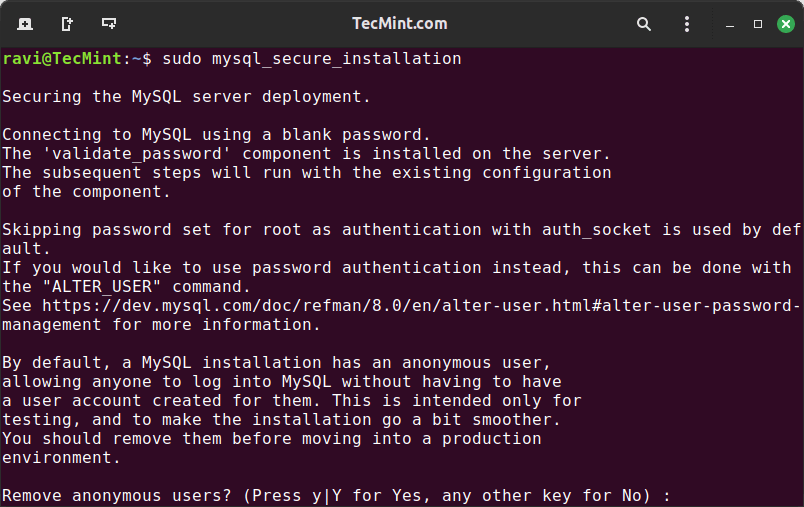
Once installed, secure the MySQL server by setting a strong password and removing unnecessary permissions and databases.
sudo mysql_secure_installation
Step 3: Install PHP and Required Modules
Next, install PHP along with the necessary required modules as shown.
sudo apt install php libapache2-mod-php php-mysql php-curl php-json php-cgi php-imap php-cli php-gd php-zip php-mbstring php-xml -y
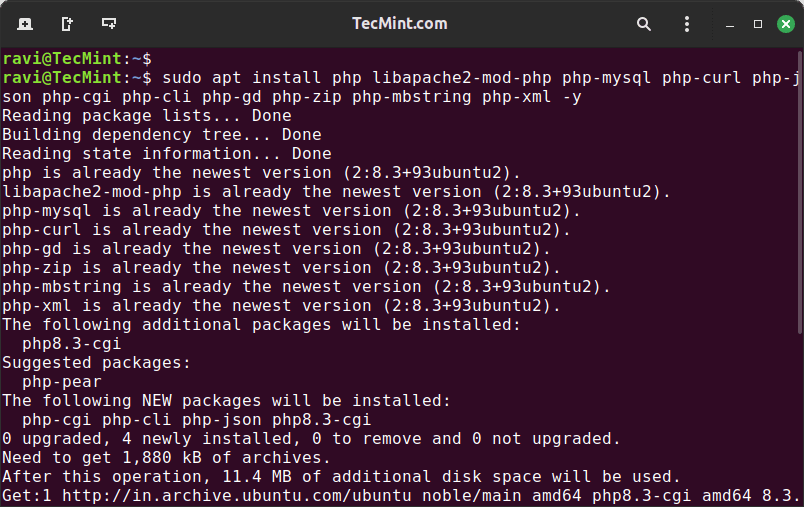
Once installed, configure PHP by setting the necessary parameters in the php.ini file.
sudo nano /etc/php/8.3/apache2/php.ini
Modify the following lines to the php.ini file.
memory_limit = 256M
max_execution_time = 60
error_reporting = E_ERROR & ~E_NOTICE & ~E_STRICT & ~E_DEPRECATED
display_errors = Off
short_open_tag = Off
Step 4: Create a MySQL Database and User for vTiger
Log in to MySQL and create a new database and user for vTiger as shown.
sudo mysql -u root -p
CREATE DATABASE vtiger;
CREATE USER 'ravi'@'localhost' IDENTIFIED BY 'your_password';
GRANT ALL PRIVILEGES ON vtiger.* TO 'ravi'@'localhost';
FLUSH PRIVILEGES;
EXIT;
Replace your_password with a strong password of your choice.
Step 5: Download and Extract vTiger CRM
Navigate to the /tmp directory and download the latest version of vTiger CRM or directly download the file using the following wget command.
cd /tmp
wget -O vtigercrm.tar.gz https://sourceforge.net/projects/vtigercrm/files/latest/download
Next, extract the downloaded file and move the extracted files to the Apache web root directory.
tar -xvzf vtigercrm.tar.gz
sudo mv vtigercrm /var/www/html/
Set the correct permissions for the vTiger CRM directory.
sudo chown -R www-data:www-data /var/www/html/vtigercrm
sudo chmod -R 755 /var/www/html/vtigercrm
Step 6: Create vTiger CRM Apache Configuration File
Create a new Apache configuration file for vTiger CRM.
sudo nano /etc/apache2/sites-available/vtigercrm.conf
Add the following content to the file.
<VirtualHost *:80>
    ServerAdmin [email protected]
    DocumentRoot /var/www/html/vtigercrm
    ServerName your_domain.com
    <Directory /var/www/html/vtigercrm>
        Options FollowSymLinks
        AllowOverride All
        Require all granted
    </Directory>
    ErrorLog ${APACHE_LOG_DIR}/vtigercrm_error.log
    CustomLog ${APACHE_LOG_DIR}/vtigercrm_access.log combined
</VirtualHost>
Replace your_domain.com with your domain name or IP address. Save and close the file.
Finally, enable the new site, rewrite the module, and restart the Apache service.
sudo a2ensite vtigercrm.conf
sudo a2enmod rewrite
sudo systemctl restart apache2
Step 7: Complete vTiger CRM Installation via Web Browser
Open your web browser and navigate to http://your_domain.com or http://your_server_IP. You will be redirected to the vTiger CRM installation wizard.
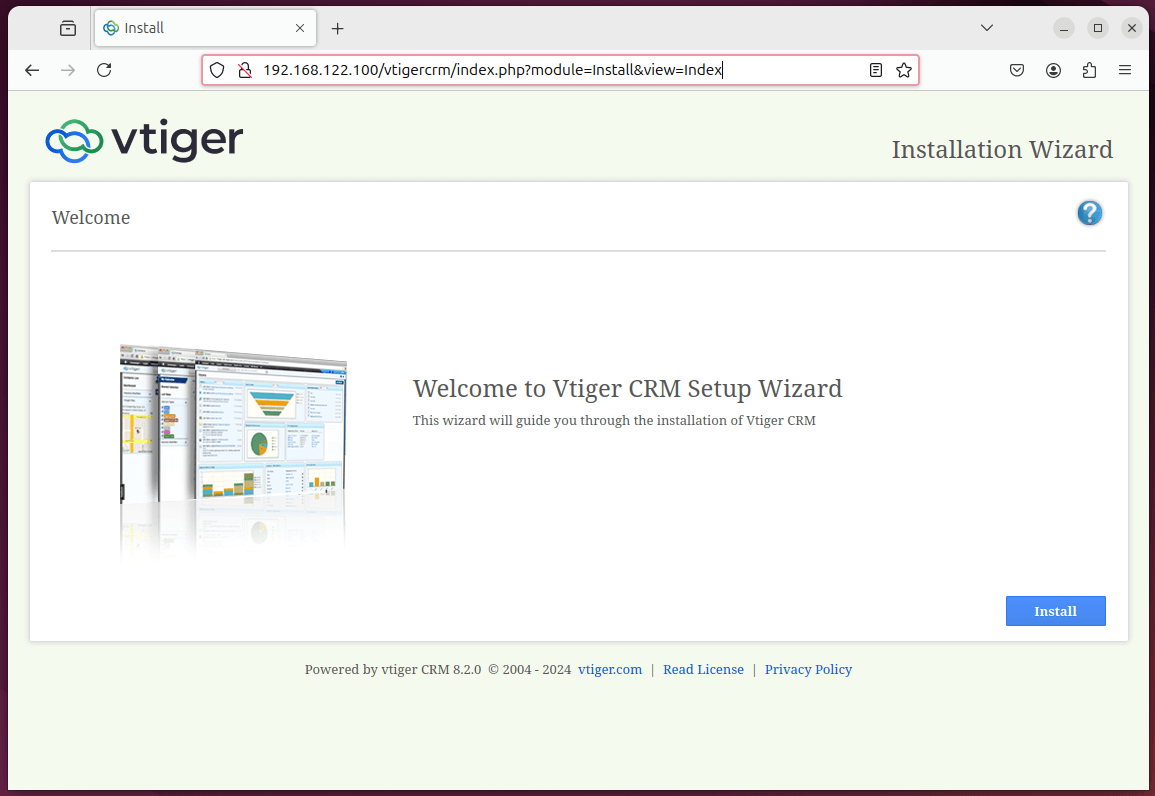
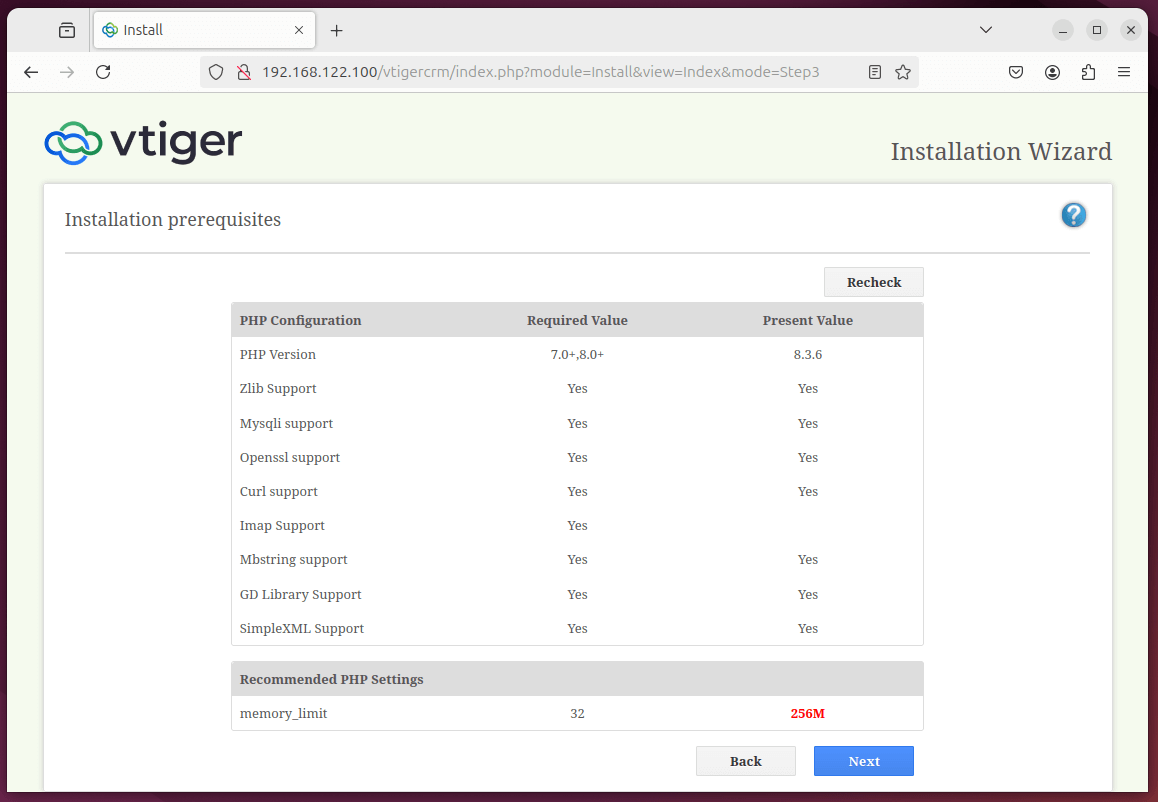
The wizard will check if your server meets the requirements. Ensure all checks are green before proceeding.
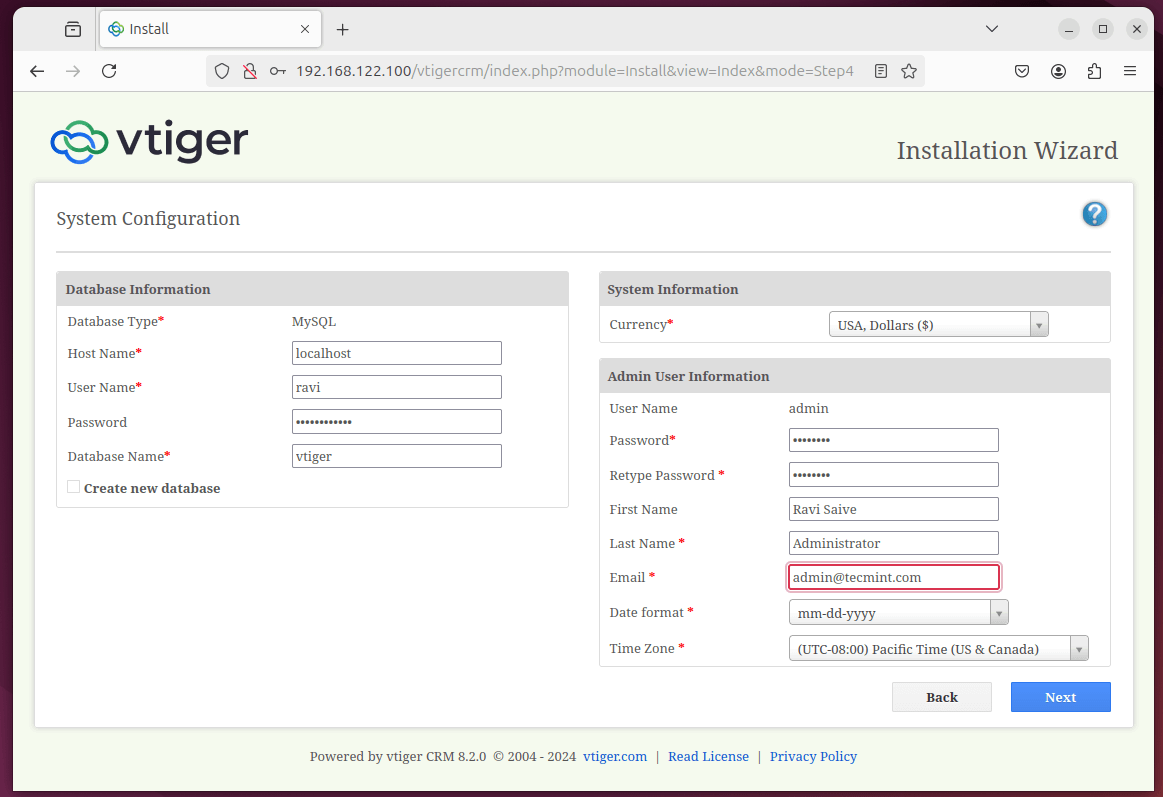
Next, enter the database details you created earlier (vtiger, vtigeruser, and the password). Also, set up the admin user credentials.
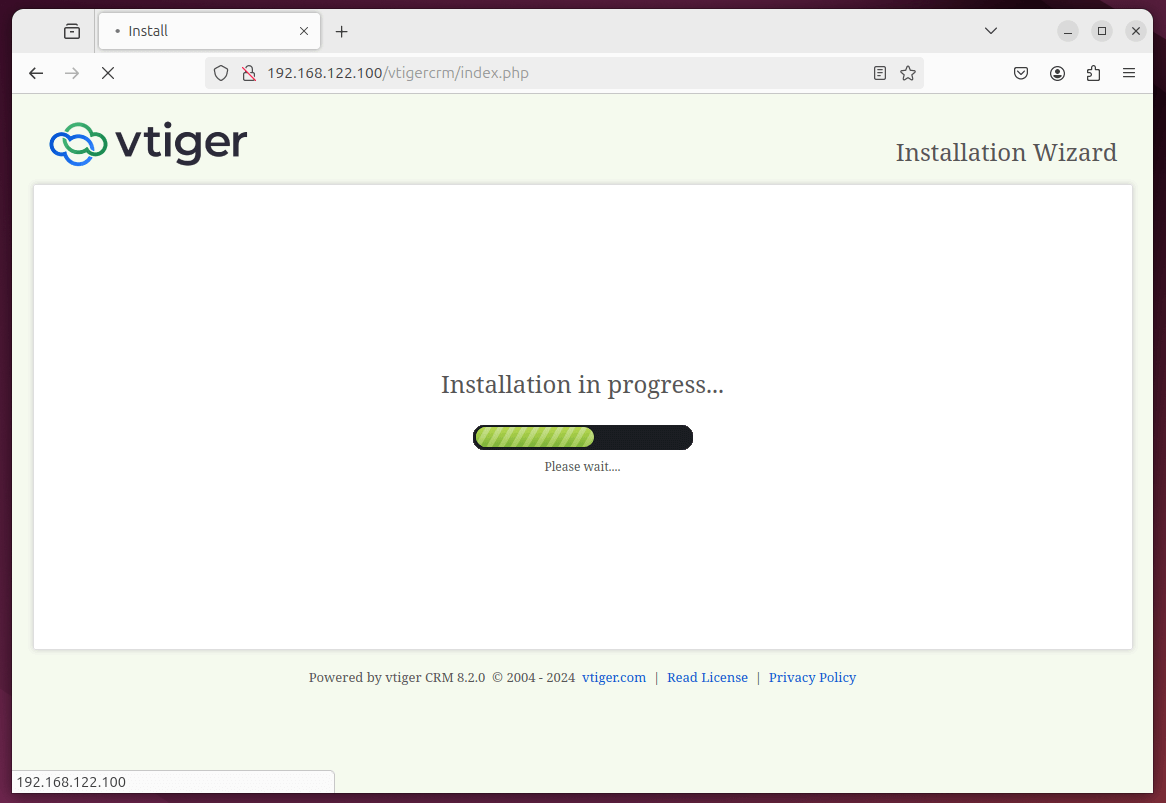
Follow the on-screen instructions to complete the installation.
Conclusion
You have successfully installed vTiger CRM on your Ubuntu 24.04 server. You can now log in to the vTiger CRM dashboard using the admin credentials you configured and start managing your customer relationships effectively.
For further customization and configuration, refer to the vTiger CRM documentation.


